
Fluorescent lighting fixture Laserline Cooper Lighting and Safety
Rice Paper DIY. Make your own Asian-influenced fluorescent light cover with this self-adhesive rice paper film. The rice paper serves as a DIY lampshade of sorts! Simply attach the paper around the fixture with double-sided tape or mounting putty, using one large sheet of rice paper per fixture. 4 / 12.

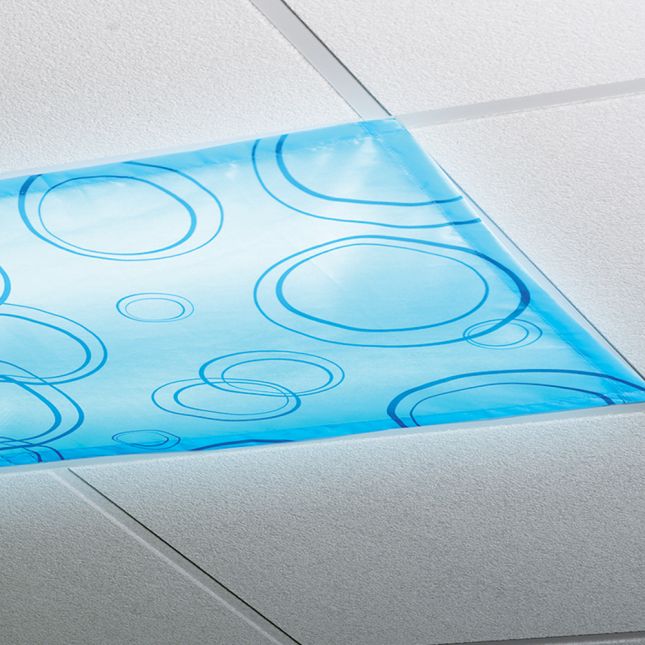
Homemade Fluorescent Light Covers AdinaPorter
Step 1: Gather Materials and Tools. Fire-resistant fabric: Choose a lightweight fabric that is safe to use around heat sources. Scissors. Measuring tape. Adhesive Velcro strips or fabric clips. Safety pins (optional) Wire hangers (optional) Heat-resistant adhesive (if needed)
Diy Fluorescent Light Covers Classroom Octo Lights Fluorescent Light
About Press Copyright Contact us Creators Advertise Developers Terms Privacy Policy & Safety How YouTube works Test new features NFL Sunday Ticket Press Copyright.
Homemade Fluorescent Light Covers AdinaPorter
Fluorescent light covers are an easy DIY project and should take less than 1 -2 minutes per fixture. Step 1 - Measure twice. Per your light fixture manufacturer's instructions, open the door for the light fixture. Some fixtures are hinged on one side and have release tabs on the other.
Homemade Fluorescent Light Covers AdinaPorter
1. The light does not scatter through the holes and create a dotted look all over, which was a concern at first, but they definitely needed a backing not only to prevent being able to look right up into the fluorescent lights, but it helps diffuse the light as well as add a little insulation. 2.
Octo Lights Fluorescent Light Covers 2x4 Flexible Decorative Light
Step 4: Cut the Fabric to Size. After you have measured your fluorescent light fixture, cut the covering fabric to size using a pair of scissors. Leave an extra inch of fabric on each side for a snug fit. Attach a few Velcro strips to the sides of the light fixture to secure the fabric in place.

Creative Diy Fluorescent Light Covers
I don't think you'd be happy with paint because any areas that are sprayed thinner or thicker will show when the light is on. You could replace the light fixture or buy new plastic, which is available at lighting shops or home repair stores. Just this would make that light look better.

Decorative Fluorescent Light Covers Diy New Pact Decorative Fluorescent
3. Cover up Fluorescent Light with Rice paper: Rice paper also works as a cover for fluorescent lights acting as a lampshade. However, rice paper cover for fluorescent lights works as a temporary solution. First, to cover the fixture, make a frame using wood or wire. Then affix the rice paper to the edge.

Pin by Holly Menendez on Kitchen Home remodeling diy, Fluorescent
This DIY cover provides an industrial and modern aesthetic while diffusing the light. 7. Reflectors To Cover Fluorescent Light: Materials Needed: Reflective Mylar sheets or reflective paint; Adhesive or double-sided tape. Instructions: Cut the reflective Mylar sheets to match the size of the fluorescent fixture.

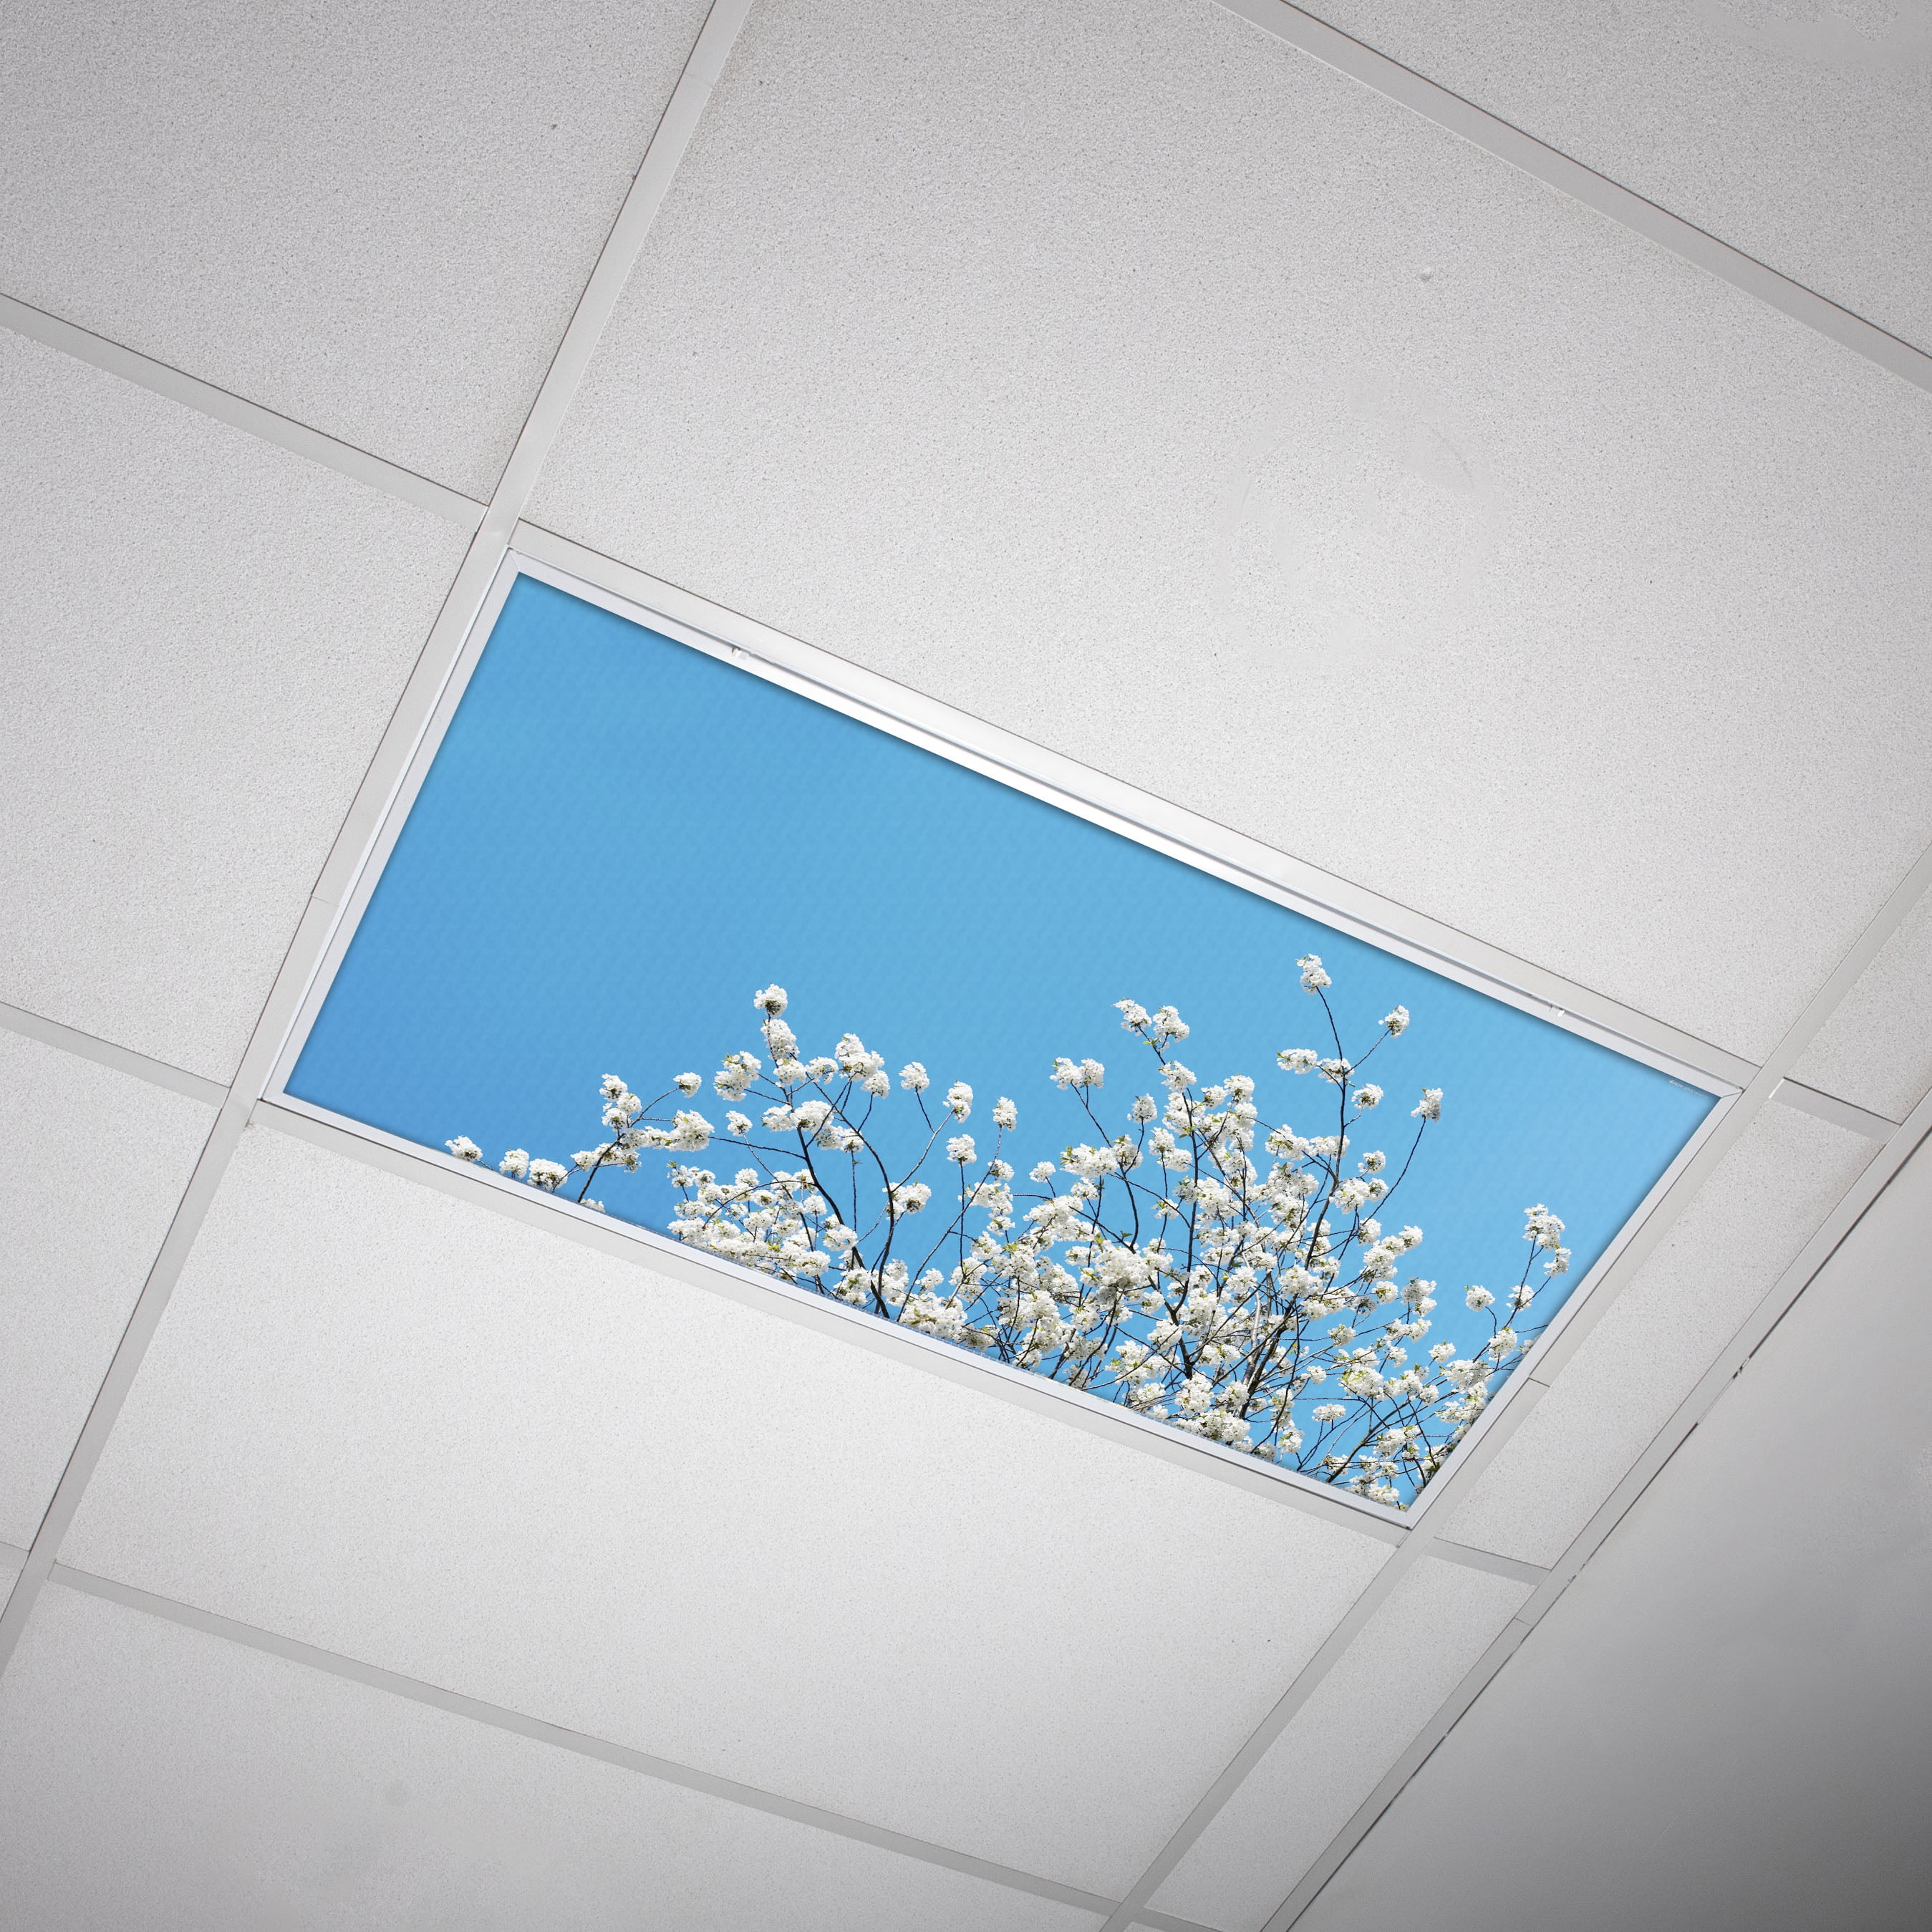
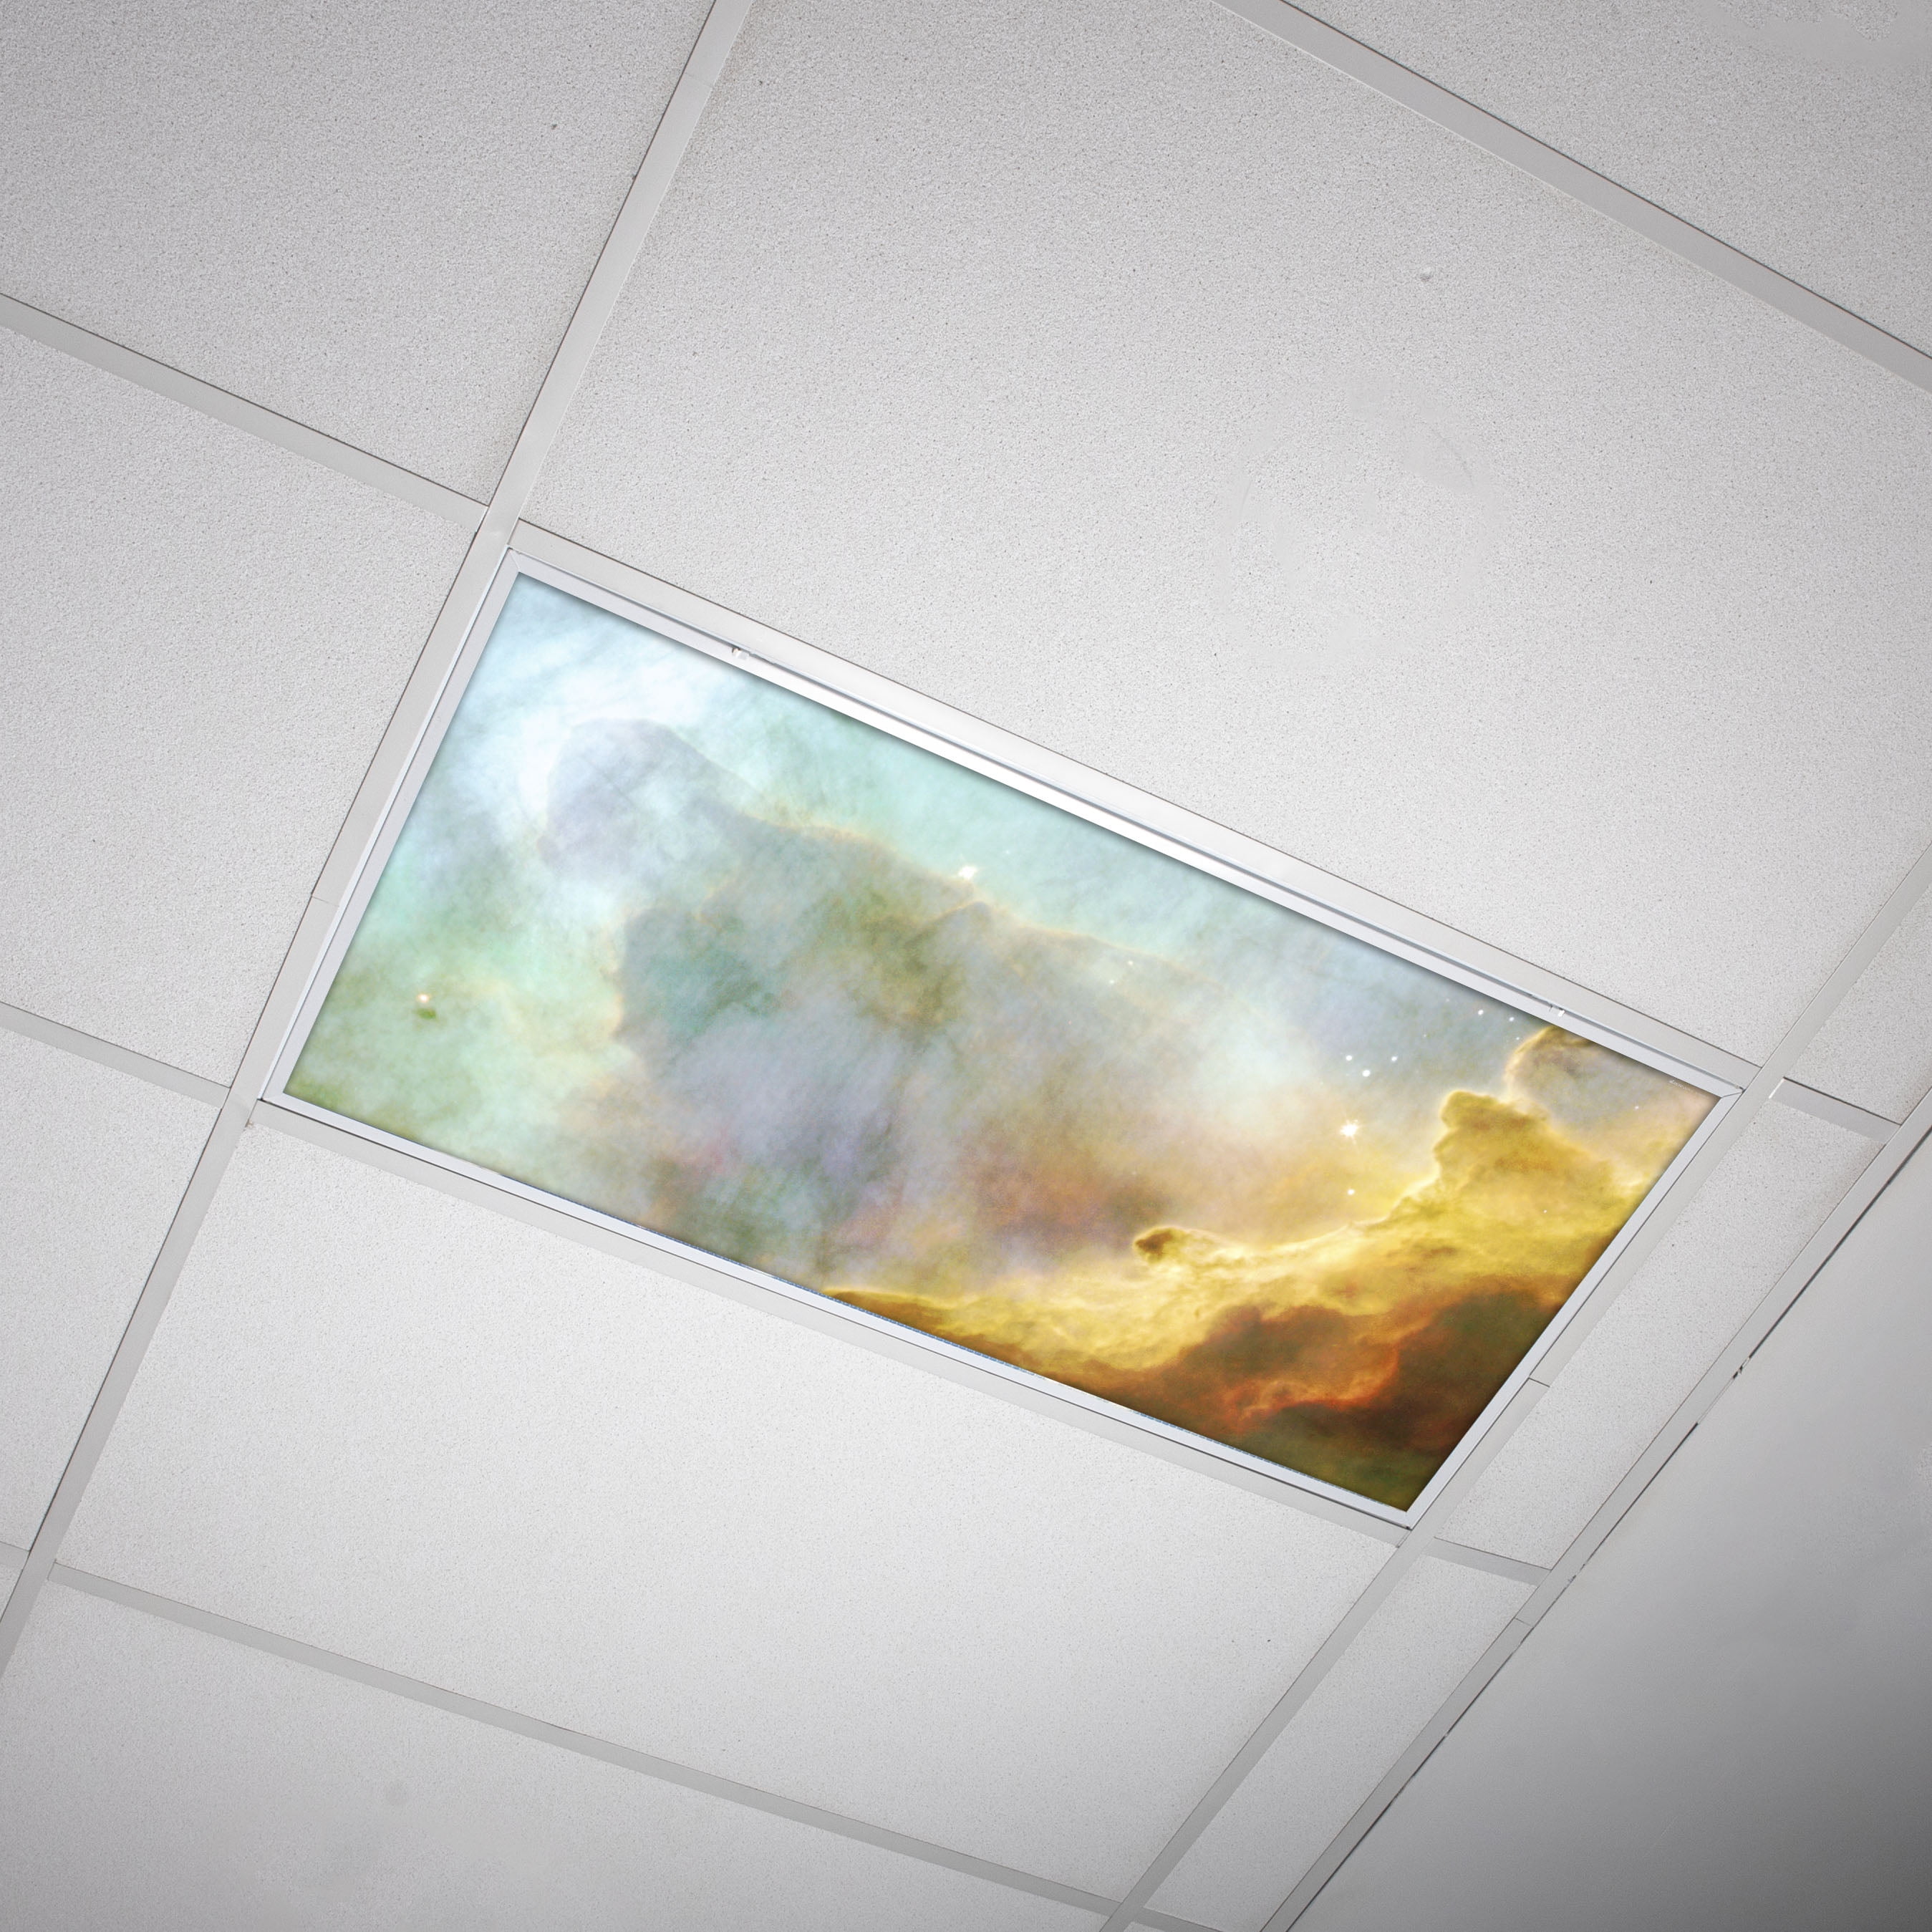
I LOVE these classroom light filters for covering my fluorescent lights
These fixtures are recessed into the ceiling with the lens cover flush to the ceiling. These are great candidates for kitchen replacement fluorescent light covers. The flush panel looks great with a decorative light cover. Flush-mounted fixtures are sometimes framed with wood or wood-look materials for a more natural look.

This would greatly improve the hideous thing I have hovering above my
DIY Fluorescent Light Cover Installation Firstly. Take your measurements and create your layout. Then, mount your cleats with the 3 screws they provide. Use their drywall anchors for extra strength. Go ahead and do this for the other three locations as well. (I got away without using the drywall anchors but I would suggest using them if possible.)

Creative Diy Fluorescent Light Covers DIY Tutorial
Attach the box over the light with strong glue or L-shaped brackets; it should look like a long sconce. Enhance your acrylic panel diffuser; trace a stencil over contact paper, cut out the pattern with a craft knife and attach to the inner panel. Paint the whole panel with watercolor; when dry, peel off the contact paper.

How to make a Shade for a Fluorescent Light Fixture Fluorescent light
How to Cover Fluorescent Lights in 5 Easy Steps Step 1: Gather All The Tools. The very first step to properly cover fluorescent lights is gathering all the tools necessary for the task. This includes a light fixture, light bulb covers, a small screwdriver, and tape. Also, make sure to use the right type of light bulb cover for the fixture.

Octo Lights Fluorescent Light Covers 2x4 Flexible Decorative Light
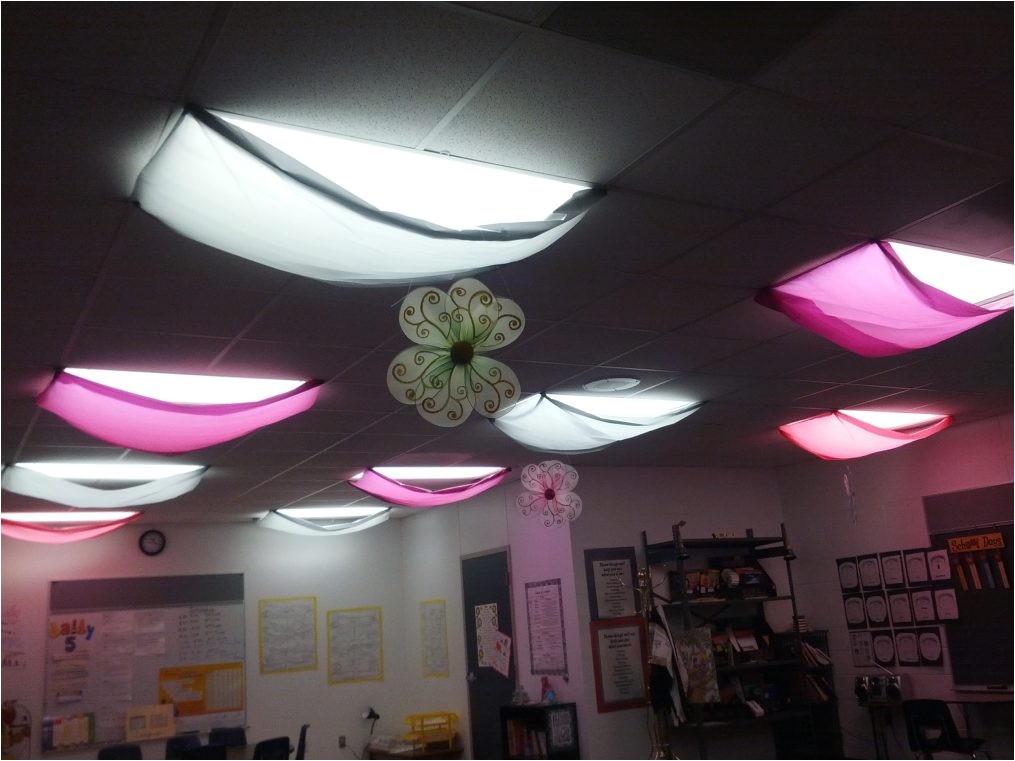
Brighten up your classroom with 10 creative fabric DIY fluorescent light covers. Add a splash of color and creativity to your learning space while reducing harsh lighting. These covers are a simple, yet effective way to create a welcoming and inspiring atmosphere. From animal print themes to nature-inspired designs, there's a cover to suit.

Diy Fabric Fluorescent Light Covers Amazon Com Glareshade Fluorescent
1. Colored Fabrics. The most convenient way to hide those fluorescent lights is to use a high sheen fabric. If you think the white and yellow lights are too boring, you can spice it up a bit by using colored fabrics. You can choose the texture, pattern, and color to fit your personal style.
Diy Fabric Fluorescent Light Covers Amazon Com Glareshade Fluorescent
Step 4. Select acrylic paints in the colors of your choice and use brushes or sponges to apply the paint to create your design. Acrylic paints dry quickly and stand up to the heat that the fixture generates. The paints tolerate temperatures up to 140 degrees. The paint also adheres to the acrylic material used to make the diffusers.